ArtEase! Homeschool Art & Education
  • Home
  • Blog
  • Blog 2
  • The Arts!
    • Student Portfolio
    • Children's Books
    • Easy Arts & Crafts!
    • MasterTreats
    • ArtEase! Videos
    • Articles Archive
  • Dilly Days
    • JANUARY Dilly Days
    • FEBRUARY Dilly Days
    • MARCH Dilly Days
    • MAY Dilly Days
    • JUNE Dilly Days
    • JULY Dilly Days
    • AUGUST Dilly Days
    • SEPTEMBER Dilly Days
    • OCTOBER Dilly Days
    • NOVEMBER Dilly Days

DIY MAGNETIC TIC TAC TOE

5/26/2018

 
DIY Magnetic Tic Tac Toe Set
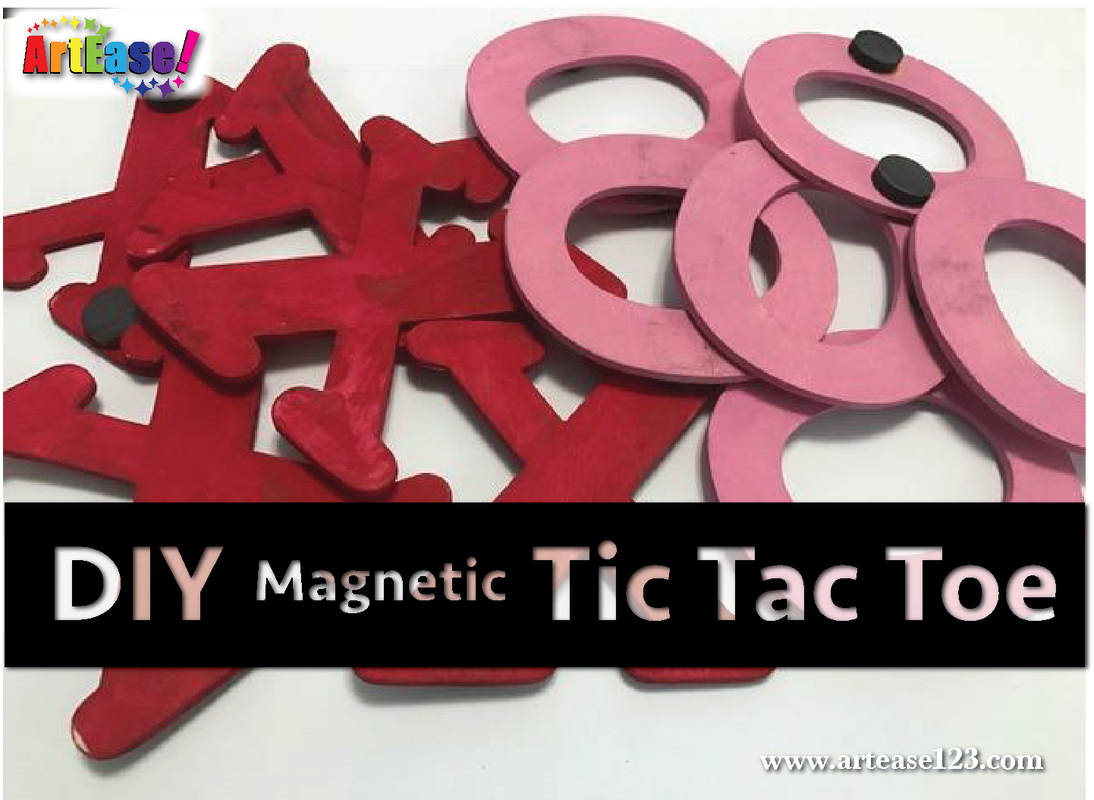
The classic game of tic tac toe has never been as magical as it has become since we created our very own magnetic set! Being that my student is quite the competitive kid, he seems to do everything more enthusiastically and with haste if there’s “winning” involved. Go figure… Since he enjoys the game of tic tac toe so much, and not just because it’s a really simple competitive way to win all the time (against me, at least) but because he’s really good at it, we designed and created our own keepsake!
​We decided to make our very own tic tac toe letters for our Valentines project a few years ago. We’re talking an original, simple, quick, keepsake, collector’s set version, ArtEase!-style. You, too, can make your own set of personalized magnetic tic tac toe X’s and O’s! Here’s how…

MATERIALS
5 - X’s (large, wooden) (from craft stores or crafts departments at Target, Walmart)
5 - O’s (large, wooden)
2 - different acrylic paint colors (we chose pink and red for Valentines)
Strong adhesive (we use E-6000 multi-purpose glue - clear)
Paint brushes
DIRECTIONS
  1. Paint all the X’s the same color and let dry (different color than O's)
  2. Paint all the O’s the same color and let dry (different color than X's)
  3. After the X’s and O’s are dry, flip over and paint back sides and let dry
  4. Using your strong adhesive, glue one to two magnets at the tops and bottoms of one side on each letter
  5. Be sure to let the glue dry before using
  6. Use any magnetic surface to play the game of tic tac toe
  7. We use dry erase boards to draw the “hashtag” playing board and enjoy!
See! Simple! And FUN! We often travel with our X’s and O’s because there’s usually a dry erase board in the class and study rooms we visit. It’s a classic game still enjoyed by people of all ages.

Hopefully you’ll be encouraged to create your own authentic set of magnetic tic tac toe letters. If so, please visit back here and share with us your results. Leave a comment below sharing other magnetic arts and crafts projects that have worked well for you in your homeschool.

Drop in to friend and follow us on Facebook, Twitter, Pinterest, and Instagram. Enjoy! :)
​
"Children see magic because they look for it."
Christopher Moore, writer

Check out more of our favorite hands-on fun yet educational activities on the links below.
DIY BODYWASH
PAINTED BLOCKS
SUMMER PAINT CLUB
Frank Blount
6/15/2018 06:21:13 pm

Very Creative

ArtEase!
6/18/2018 05:51:59 pm

Thank you for sharing your thoughts, Frank Blount!


Comments are closed.

HOME • BLOG • BLOG 2 • THE ARTS • BOOKS • DILLY DAYS • VIDEOS

Copyright © 2021